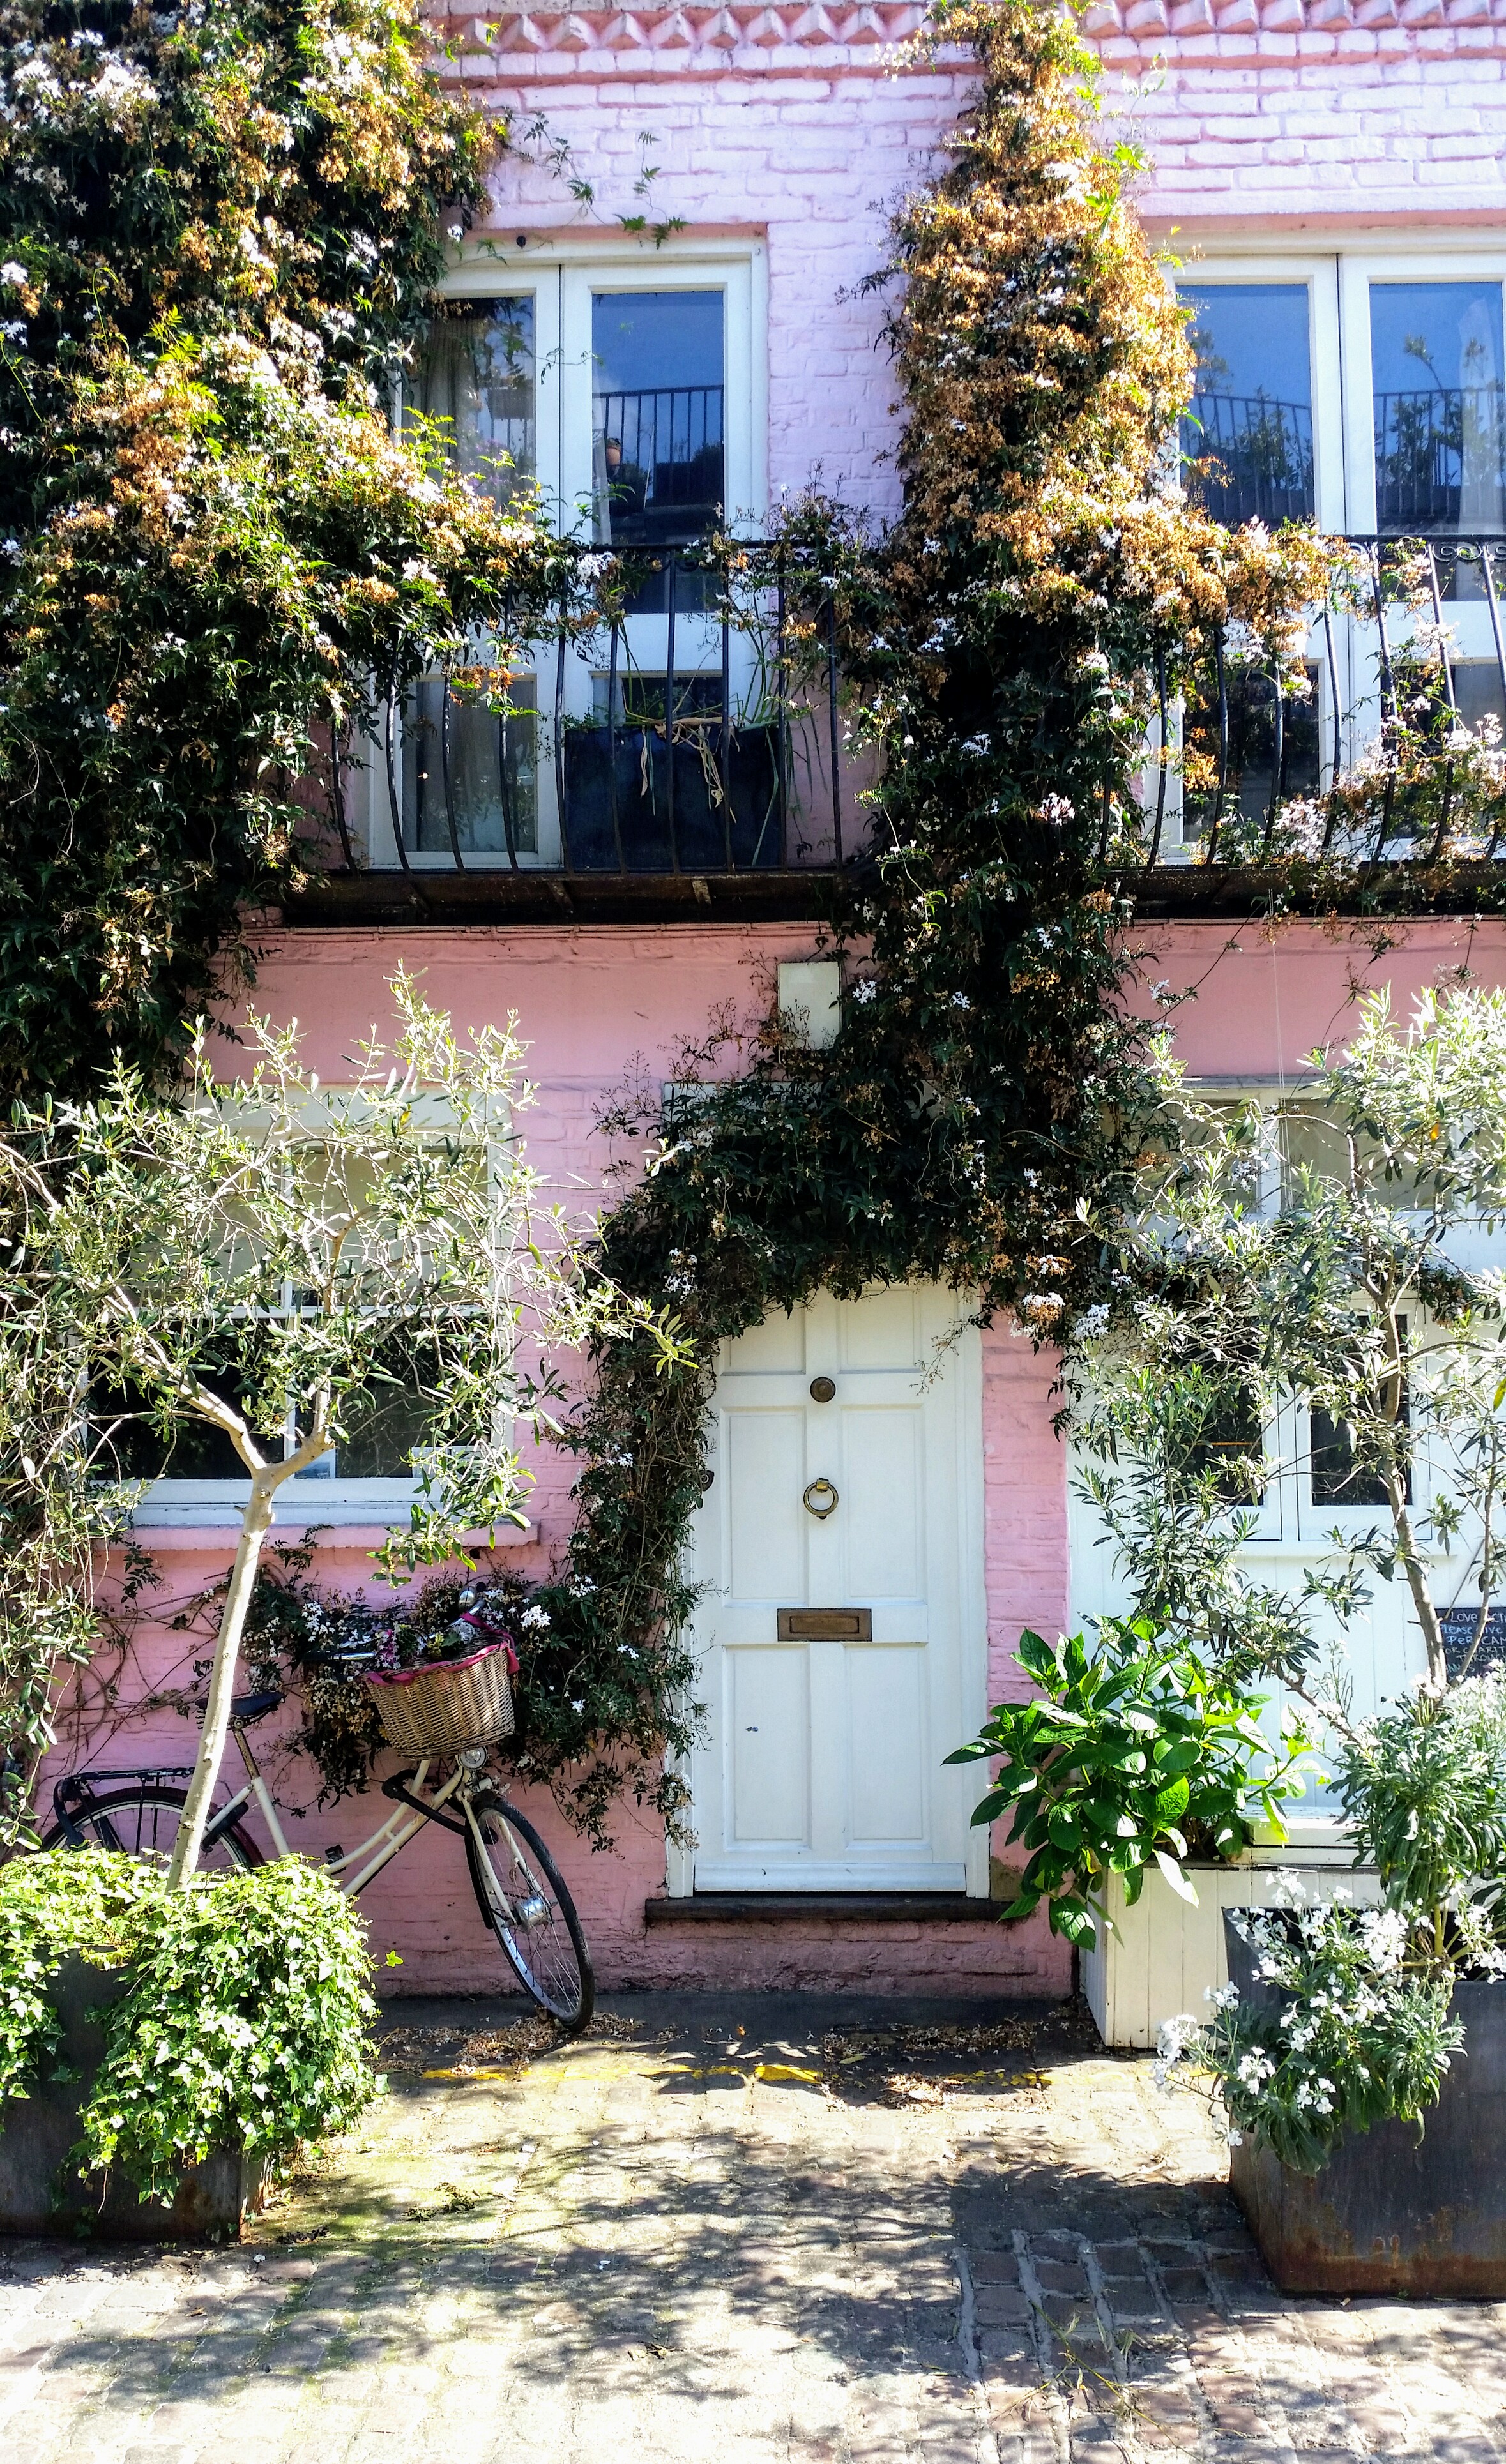
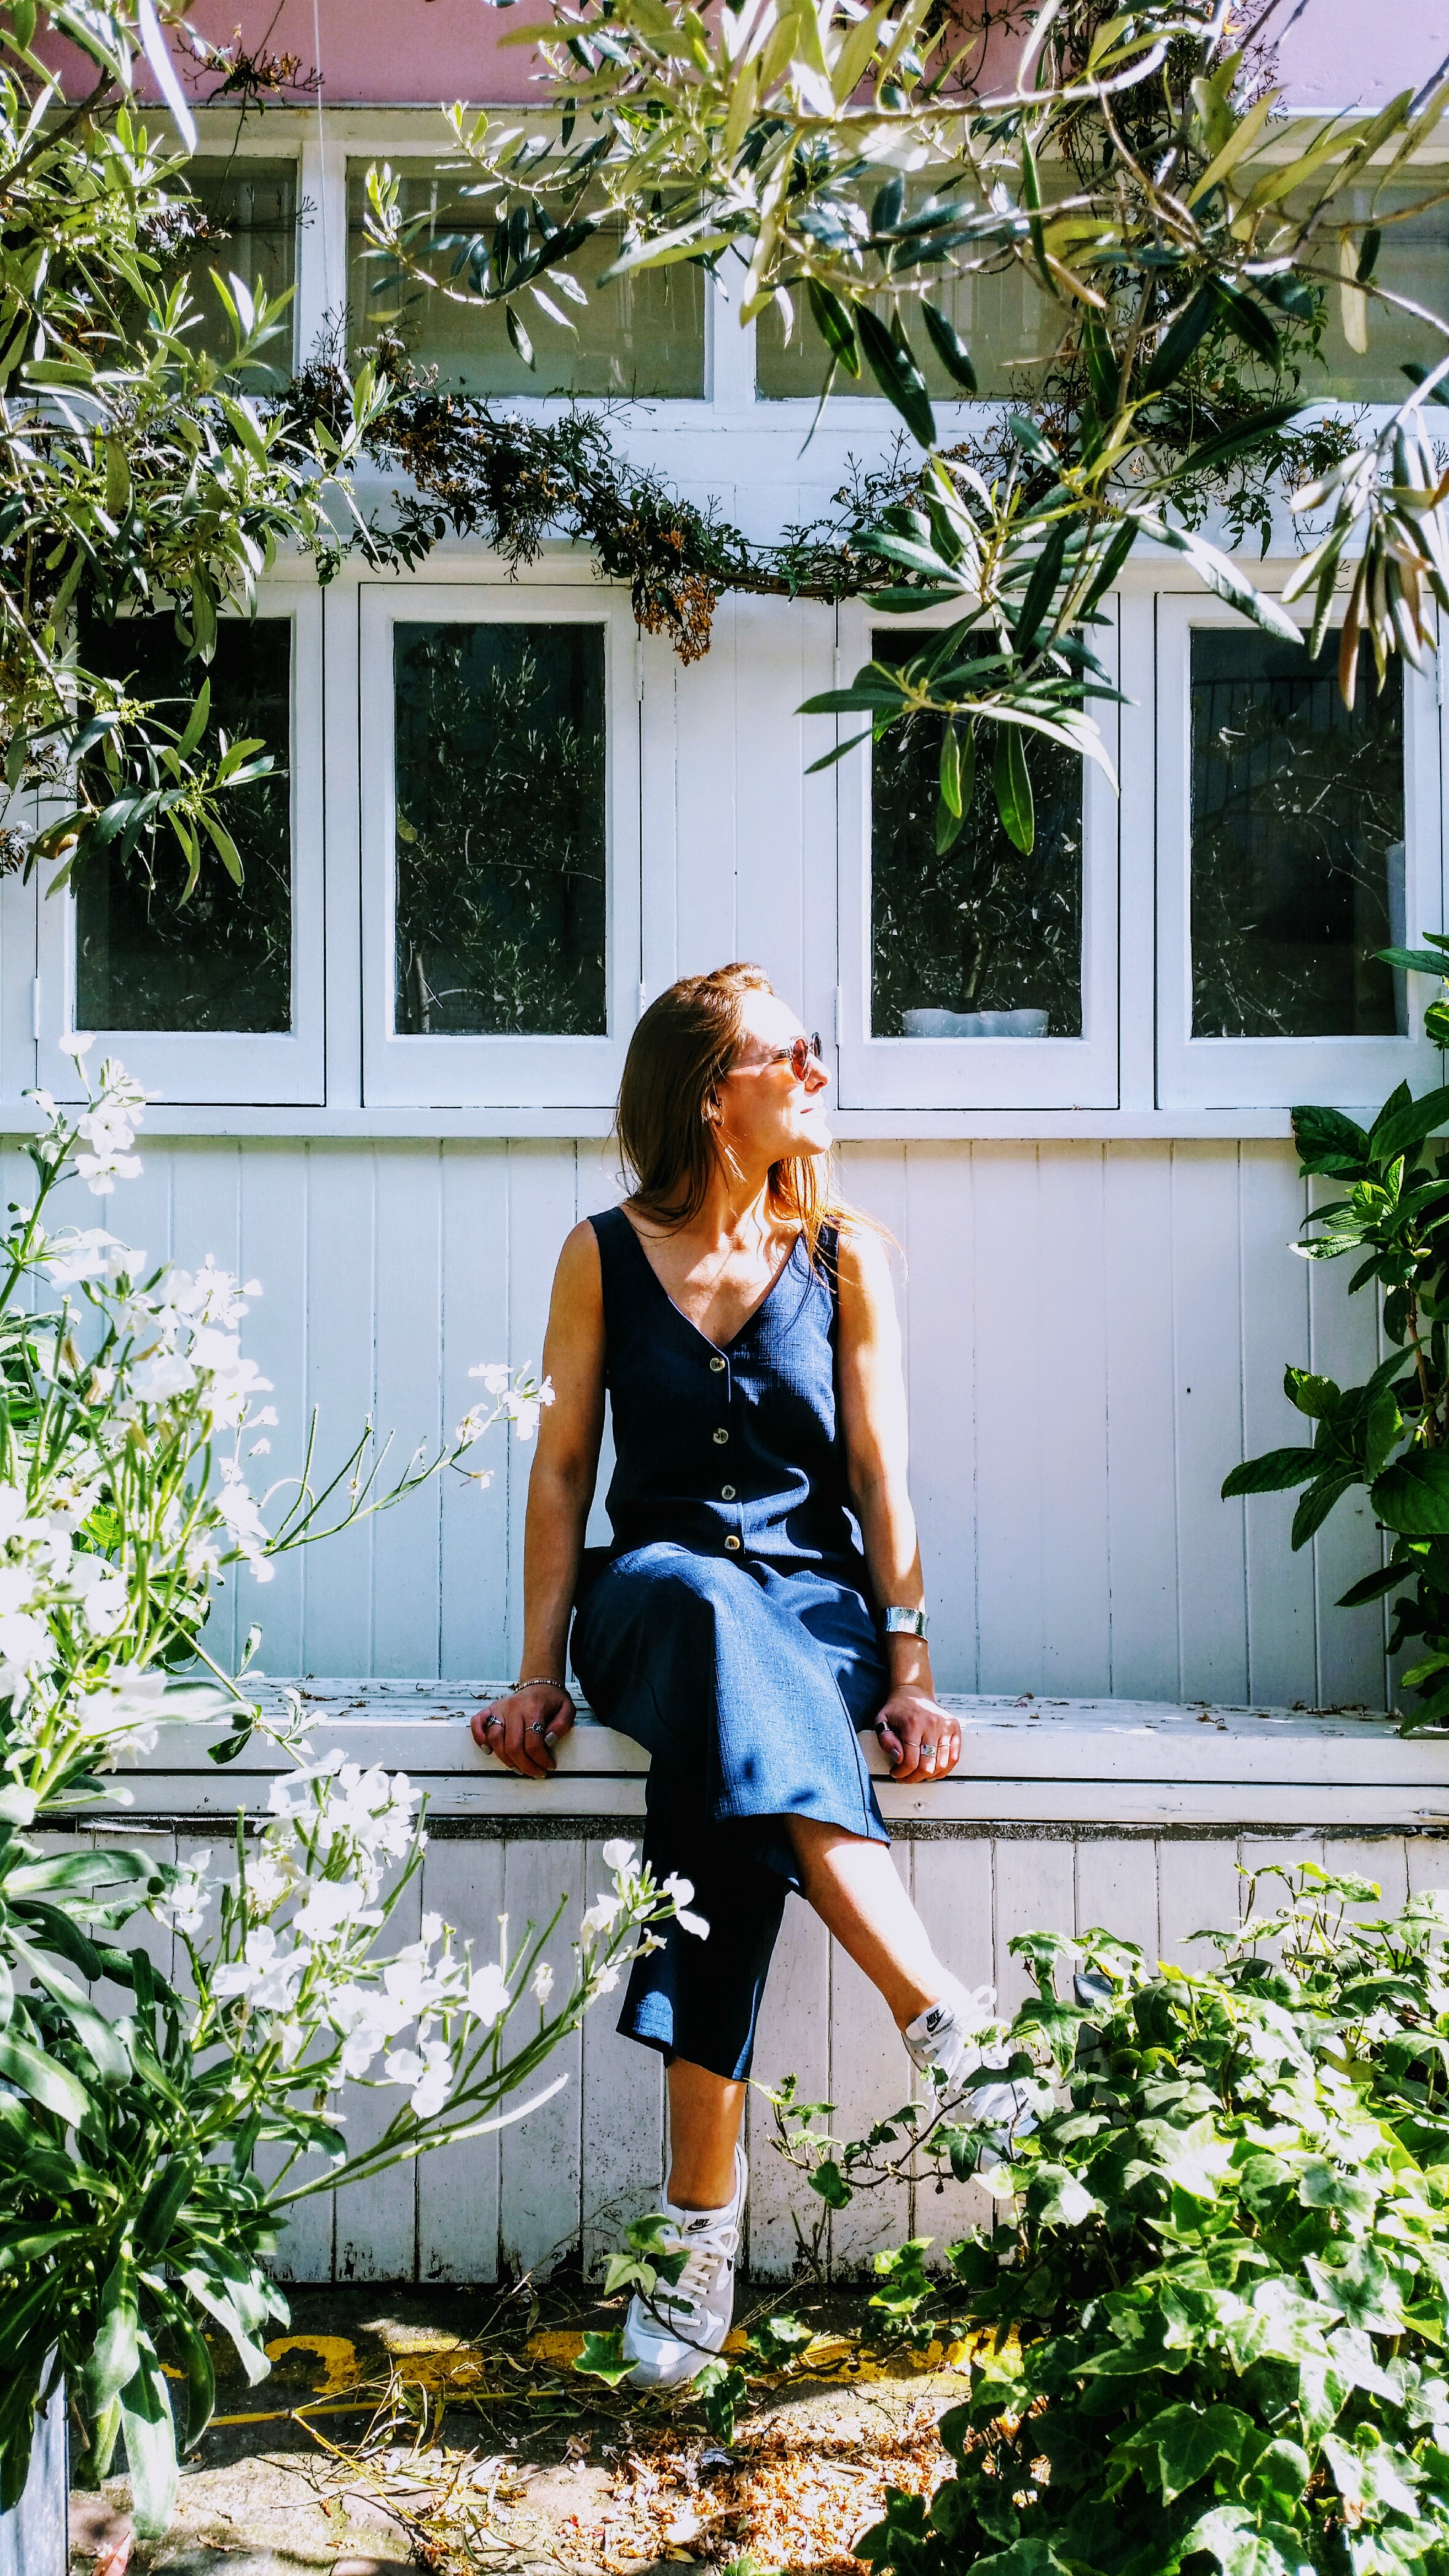
Sometimes, we just don't want to head out on the streets of a new place with everything in our camera bag.
It isn't because carrying all that kit with us results in a heavier, oft cumbersome load; it's just because sometimes we want to wander new streets or dusty roads with a different mentality and without two SLRs slung upon our shoulders.
However, this doesn't mean that we won't end up taking photos. With our increasing use of Instagram Stories (you are following us on Instagram right?!) in 'real time' on our travels, and our inability to not take a photo of a pretty vista or street, we've started to depend on our smartphones a lot more in the last six months. And, we've actually grown to appreciate the medium; shooting with our phones can create some shots and concepts which we may not have thought of or tried with the SLR.
So, whether you're looking for an alternative to your giant camera, or rely on your phone to capture all your travel shots, here are our top tips for taking better photos with your mobile phone on your travels.
Learn about your camera's capabilities
You wouldn’t buy a ridiculously fancy sports car and only drive around the block, so why would you invest in an expensive camera phone and not learn what it can do. Play with the settings and learn what each one does and how it will effect your photos. Some cameras even give you the option to to shoot in ‘manual’ as opposed to auto mode - these are the capabilities that will turn your images from grainy, to great!
However, it has to be said that not all smartphones are created equal when it comes to photography capabilities and specs. In the last 12 months, there has been a rapid, competitive development in the quality of in-built lenses which makes a significant difference in the final output. Although we aren't shooting with the latest or most expensive phones on the market, the increased use of our phone for social media photography whilst on the road did make us upgrade to a model with much better specs.
Try to shoot in natural light
Whilst the quality of some images coming out of mobiles can be incredibly good, one area where almost all struggle to compare with real cameras is low-light conditions. Unfortunately, most phones simply don't have the technology to counteract a dark environment without drastically reducing the quality of the image. If you absolutely must take a photo at night, try and have some artificial light in the shot (ideally aimed at your subject, and not behind them).
Use the 'other button' when taking a selfie!
We've all been there. Arm out, pout on, about to take the most insta-worthy selfie of your life - and then you realise that to press the shutter button you either need to use your nose, or risk dropping the phone. There is, however, a simple alternative; use the volume button instead! This also allows you take the photo with significantly less wobble, making for a much crisper image later.
Also, bear in mind that most phones (apart from the latest models) have traditionally had a much poorer quality front lens - so don't be surprised if those selfies aren't as good quality as the shots you take out of the back lens.
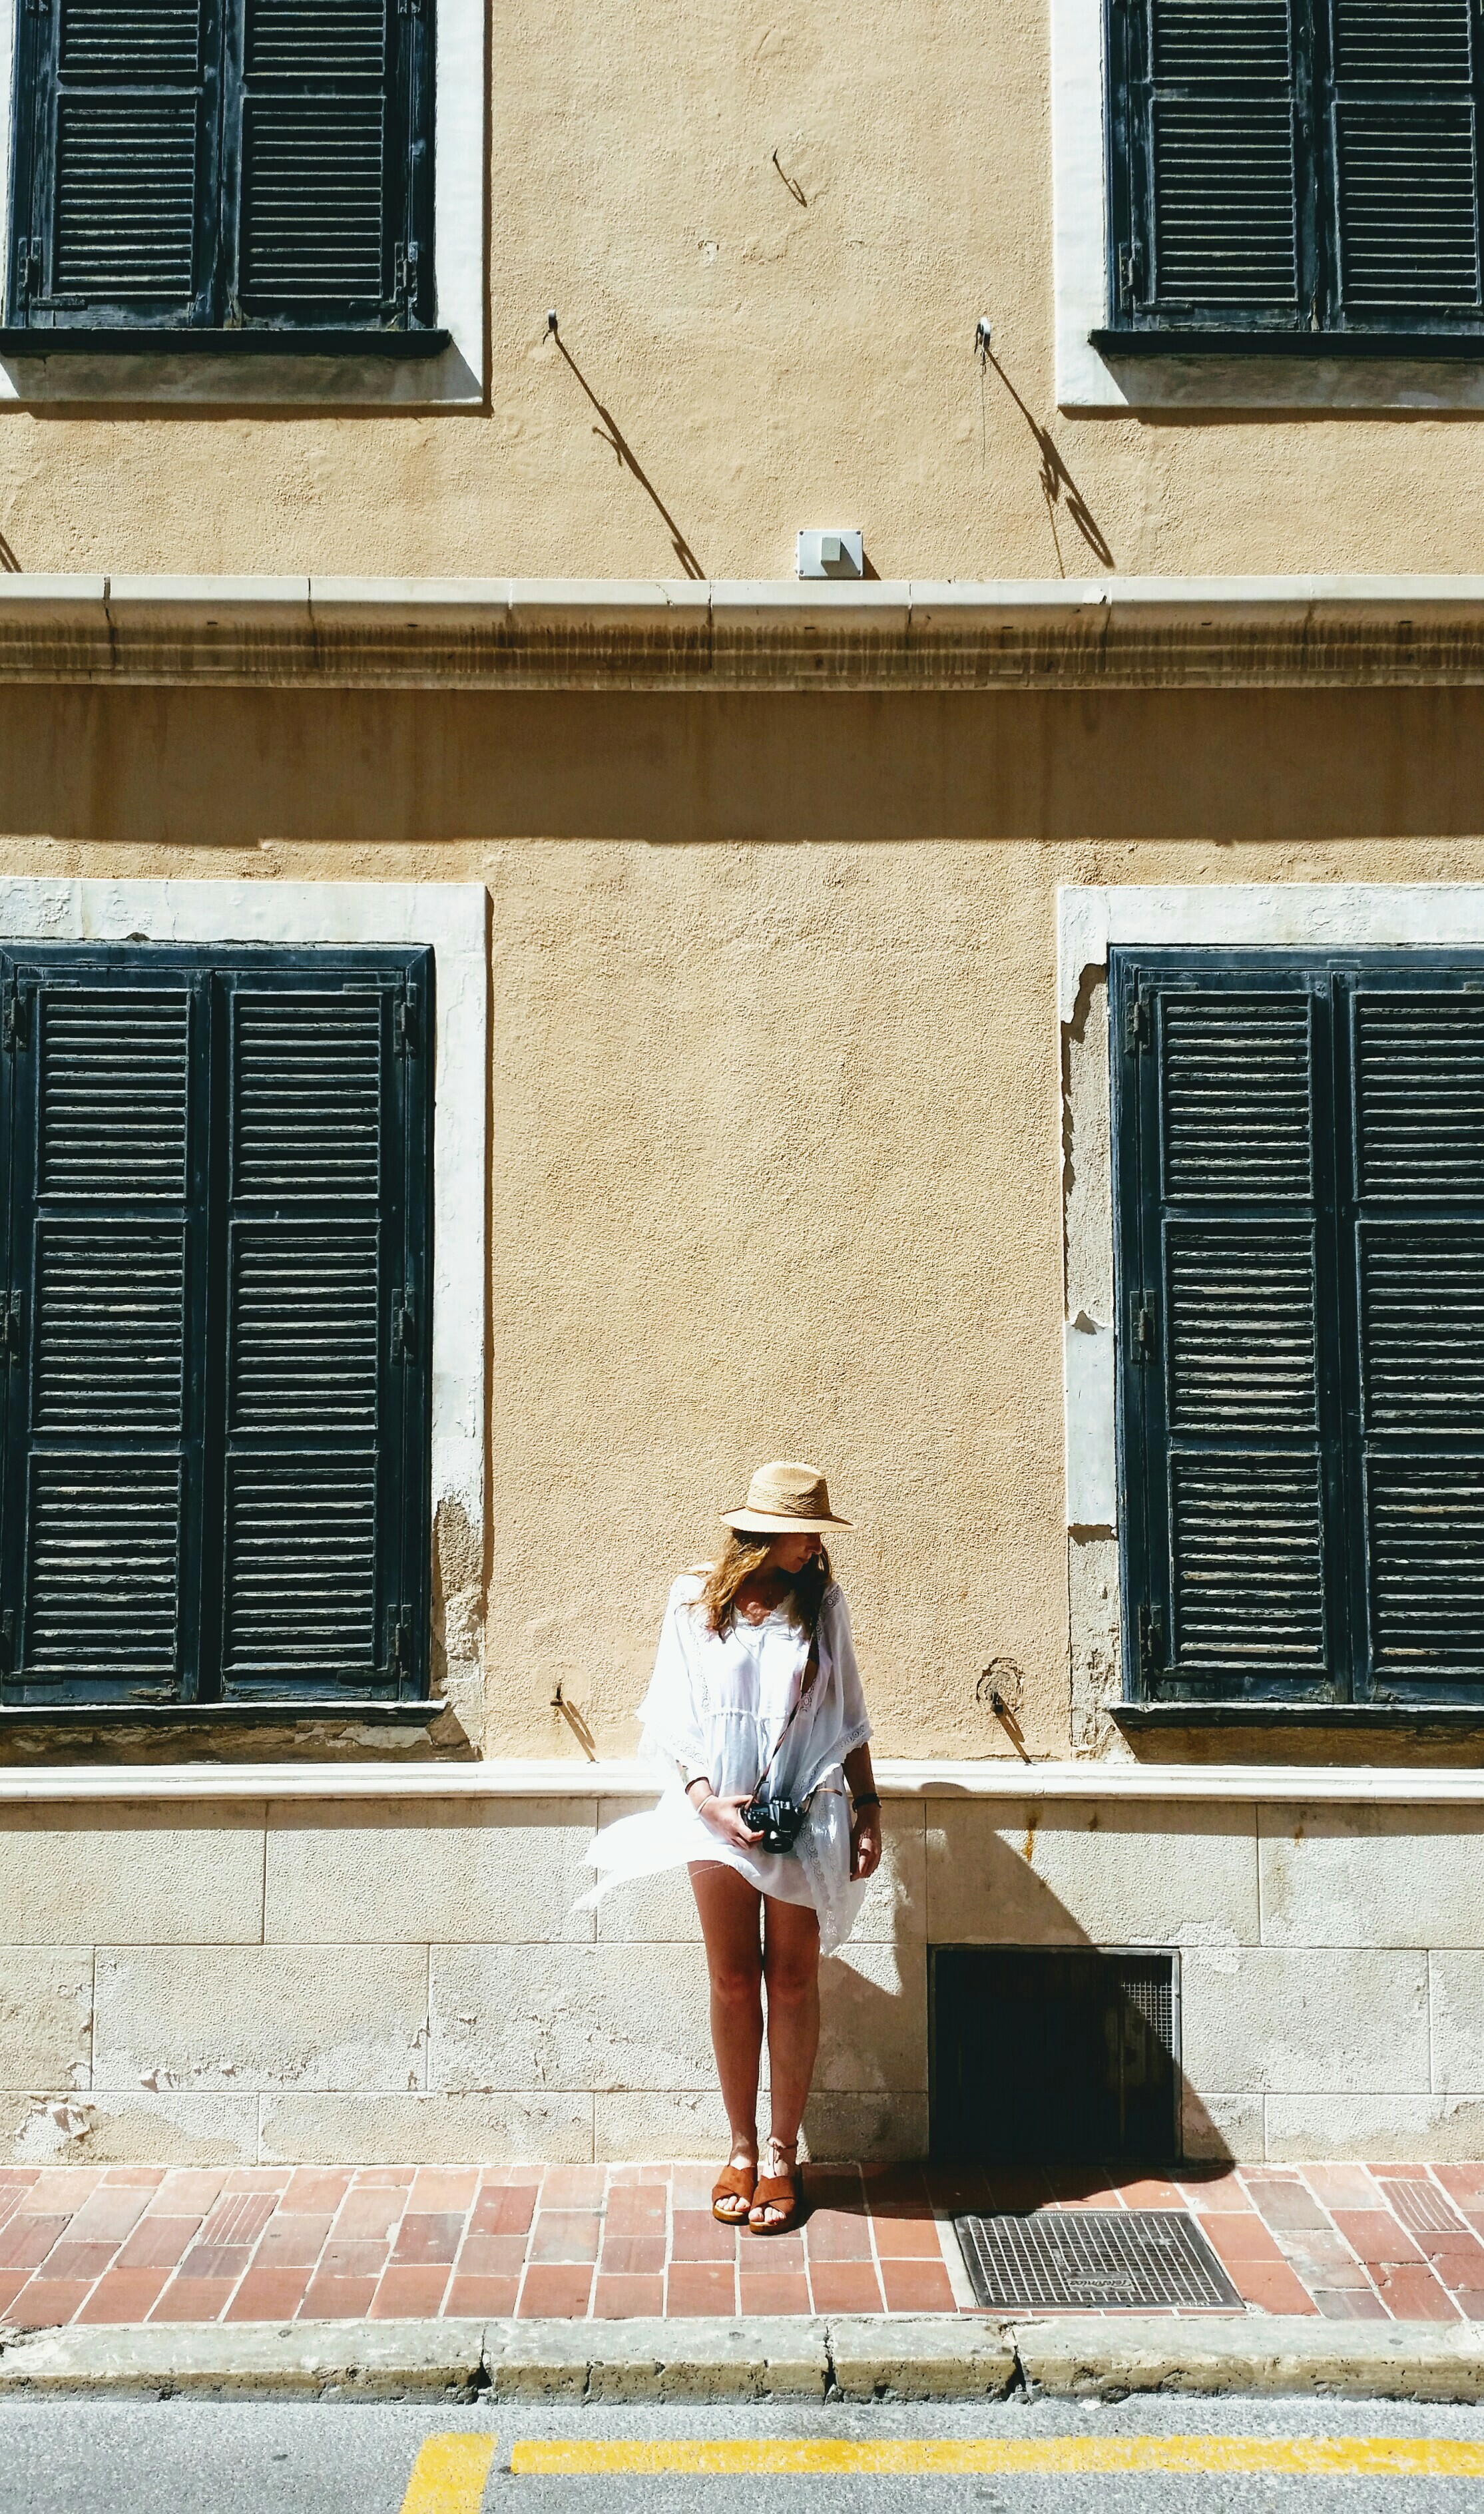
Taken with our Pixter clip-on lens.
Despite what Siri tells you, your phone is not always right
This is particularly worth remembering when it comes to auto-focus. Nowadays, phones are exceptionally good at recognising faces in images, and can often take a pretty good guess of the main focus point. That said, mistakes happen - you think you’re focusing on the food on the table, the phone decides it’s the salt shaker that you really needed to capture. To ensure that your area of focus is correct, simply tap on the focal point on the screen (on the object you want to focus on), and your phone should do the rest.
Use top-notch accessories
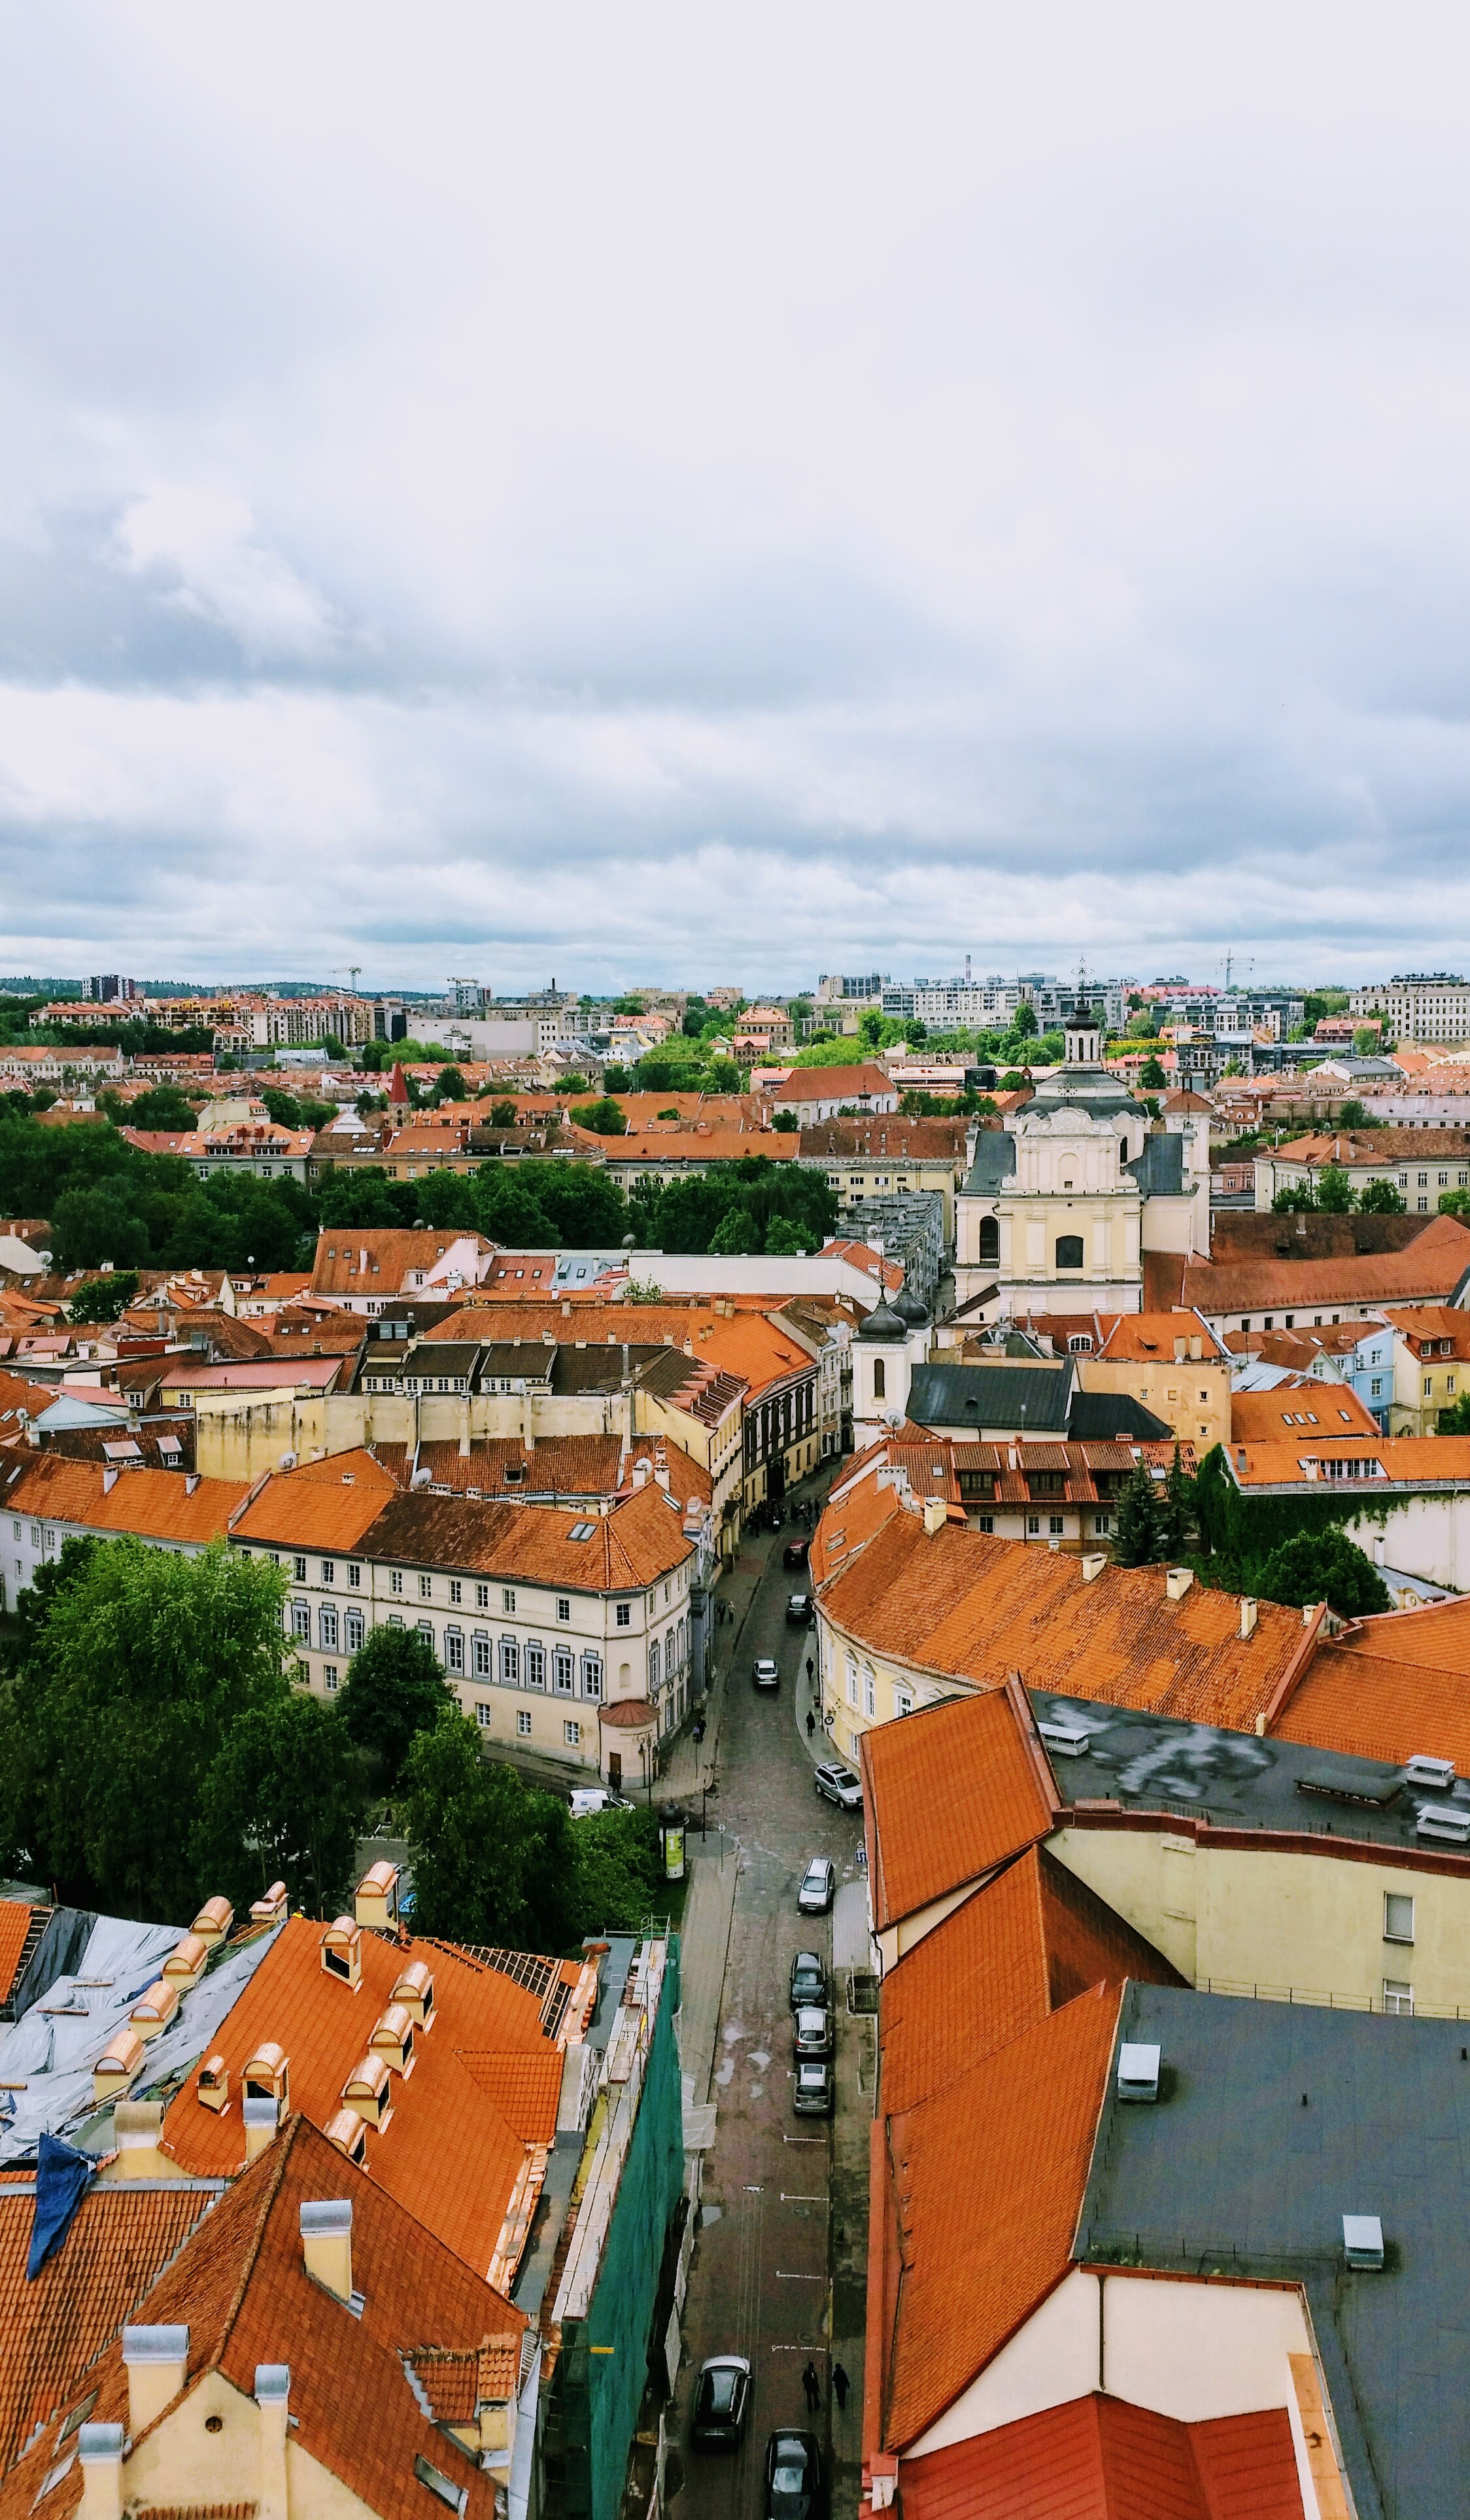
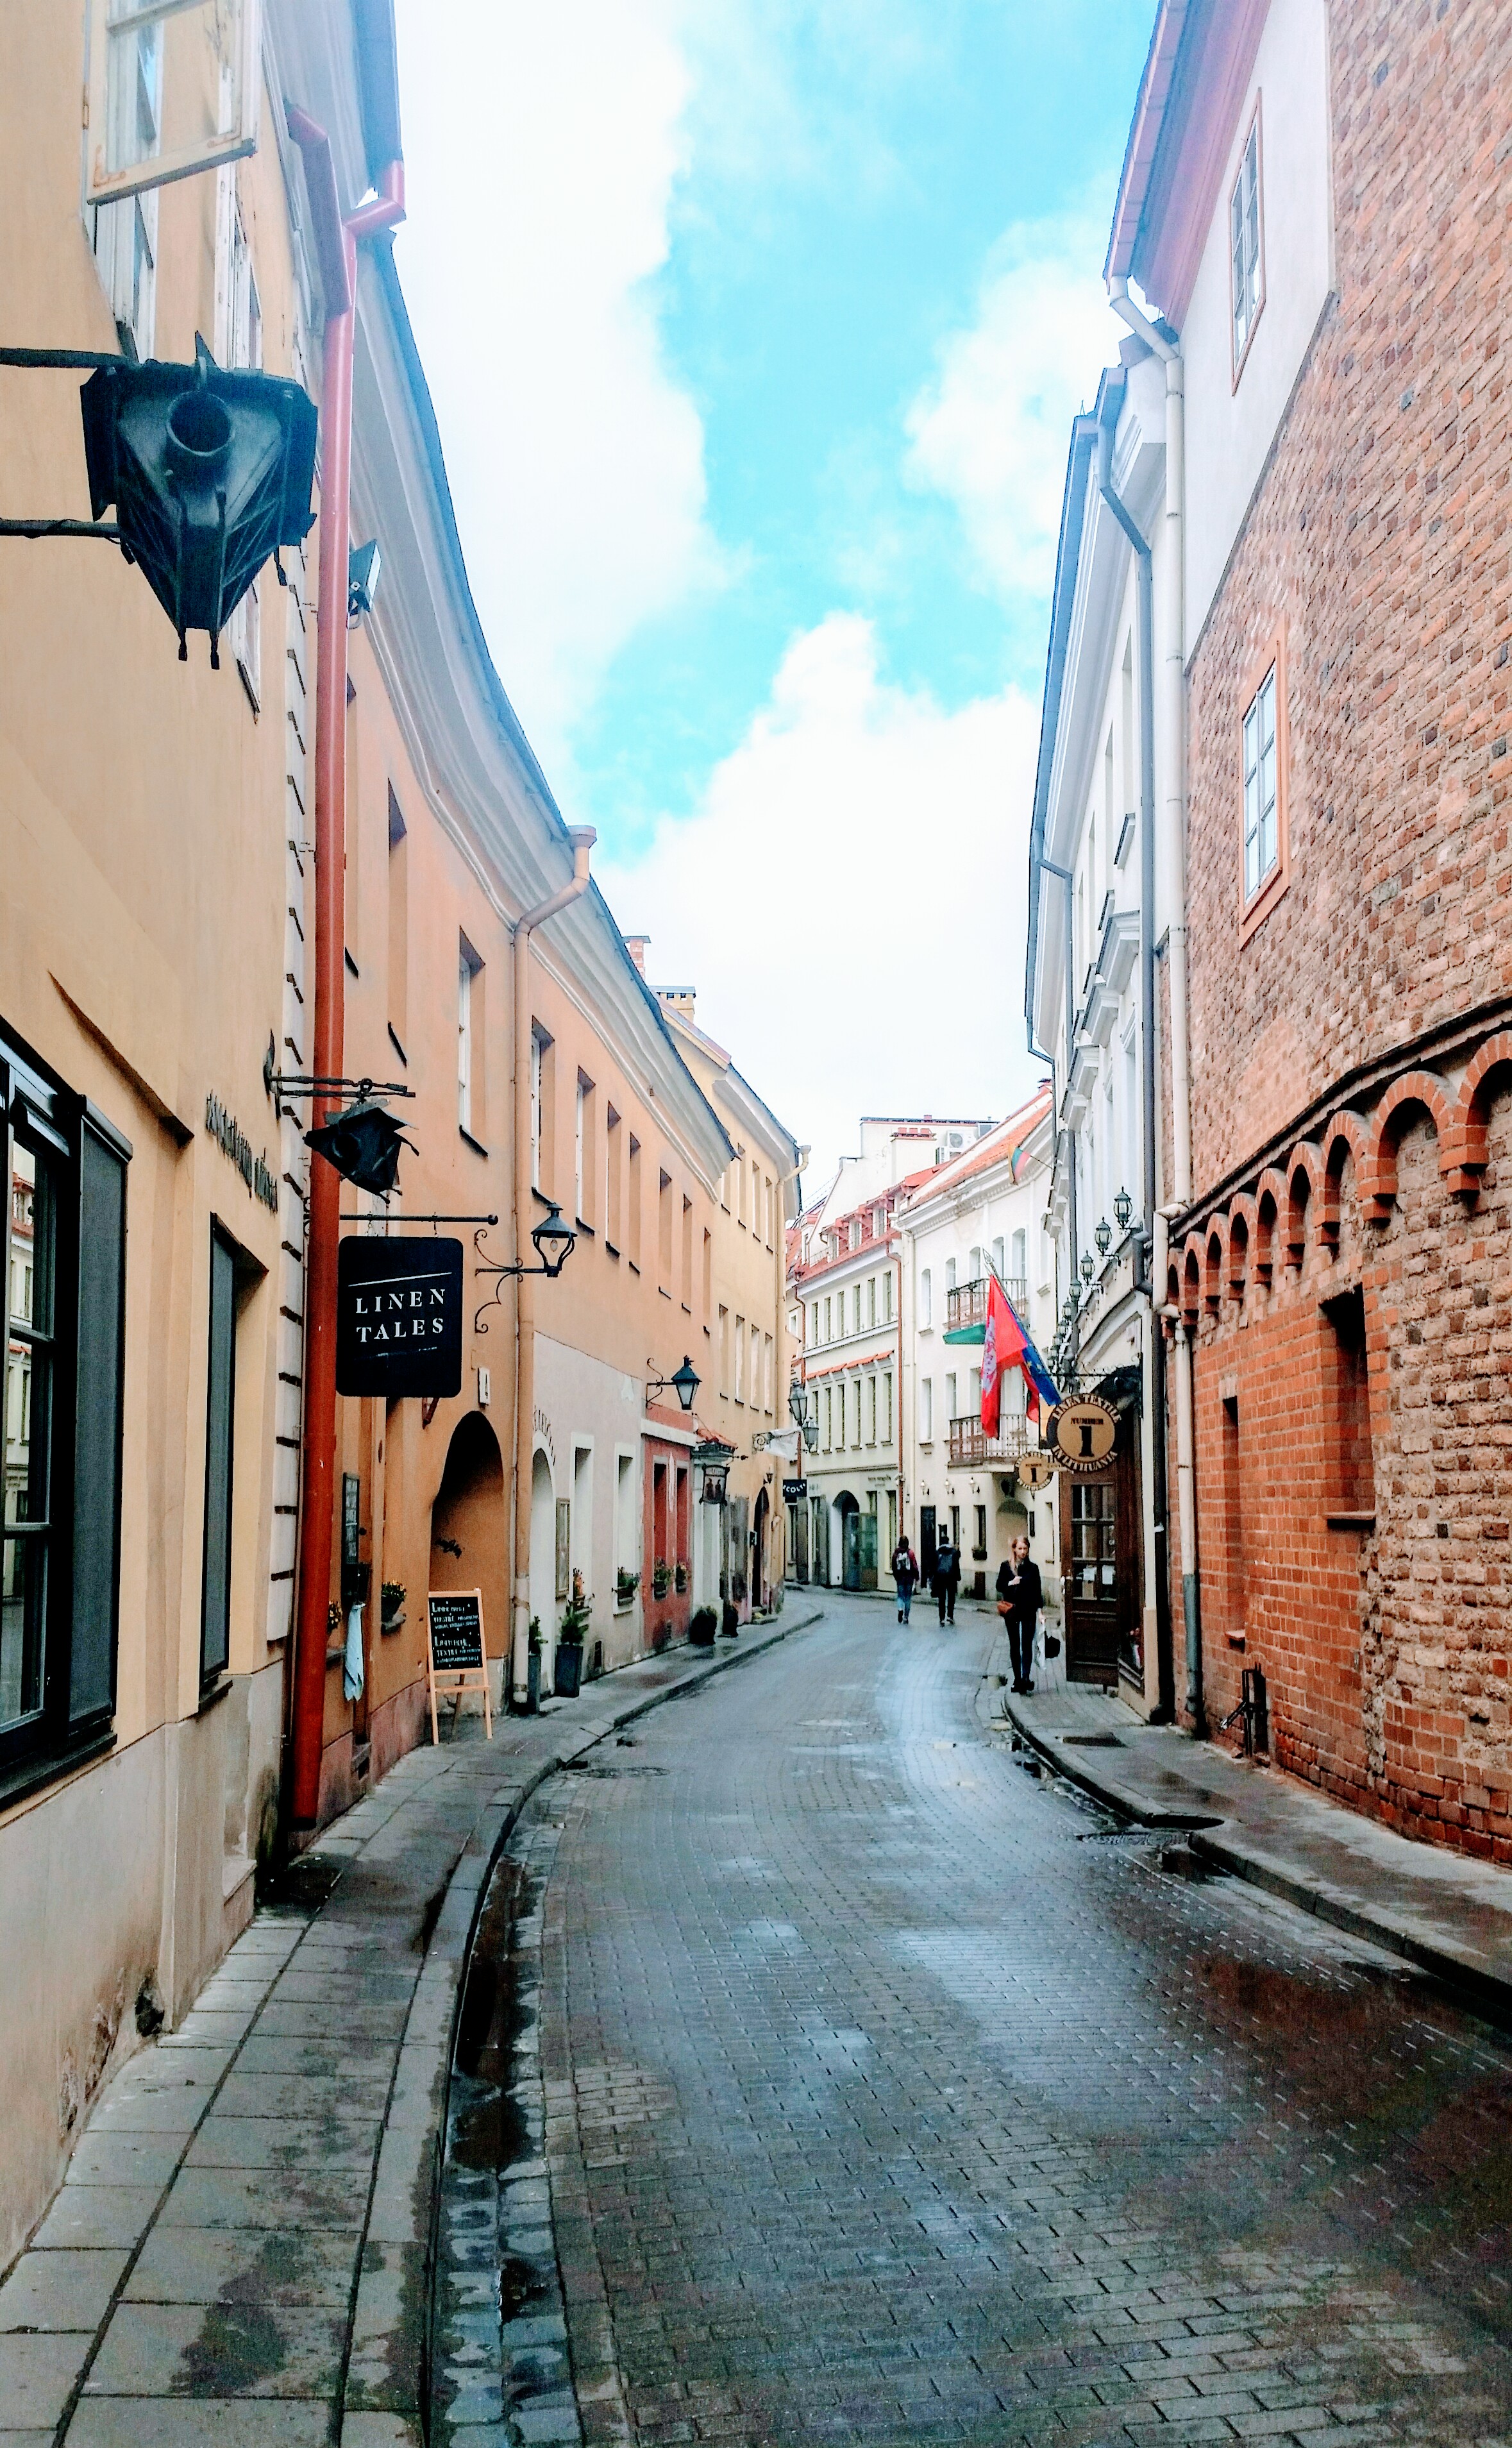
For those looking to take their camera phones to the next level, or increase their functionality without buying an expensive new phone, there are all sorts of extra bits of kit that you can invest in - everything from tripods to flashes and clip-on lenses. During our time in Menorca, we had fun trying out the Pixter wide angle and telephoto clip-on lenses and were really excited about the extra capabilities - especially being able to fit an entire epic landscape into one image to give a great impression of scale. Our normal lens just wasn't able to capture this sort of scene, but the clip on lens allows us to fit 2.65 times more into the image. Check out the clip-on lenses we use, which fit in your pocket and attach to any smartphone, here.
Taken with our Pixter wide angle clip-on lens.
Consider using 'burst mode’
This is a two-pronged suggestion.
Firstly, if you choose this option in your settings, it means that you will take multiple photos, very quickly, increasing the chances that at least one of your images is usable. Secondly, burst mode allows for a very fast shutter speed - this is essential if you’re planning to take photos of a quick moving subject (for example, your mate dancing like an idiot to 80s classics, or dive-bombing into the hotel pool!).
Just don't forget to delete the duplicates, otherwise you'll very quickly run out of memory!
Make sure you've got a clean lens
This is such an incredibly simple step - but one which can make a huge difference in the quality of captured images.
Think about it: your phone is handled constantly, shoved in back pockets and at the bottom of overfilled handbags (trust us, you do not want to see Emily's!) - it's of little surprise that the lens gets covered in all sorts of dirt, dust and grubby fingers. A quick clean with a lens cloth and you'll prevent moments of 'uuurrrggggghh' when you look at your photos later and realise there's a bloody great smudge in the way!
Learn some basic photography skills
Of course, all of this is completely useless if you don’t really know how take a photo. To us, there is nothing more annoying, than when somebody is admiring one of our images, and the first words out of their mouth are ‘so, what camera do you use?’.
Sure, having a great camera increases the chances of a good picture, but it won’t make you a great photographer. For most people, learning how to capture what is in front of you involves a lot of practice (and we still need lots of it!), but, importantly, it is something that can be learnt. Simple tricks like understanding the rule of thirds, foreground interest or the best time of day to take a photo (hint: it’s not in the middle of the day) can make all the difference to what you capture.
That said, now is not the time to go into too much detail about this - we can create several articles on the basics of photography alone (and will, don’t worry!) - but if you’re serious about taking the very best photo you can, it’s definitely worth studying up for a bit.
Edit, edit, edit!
We recently heard a fellow travel blogger state that he didn’t understand the point in editing… If you’re not shaking your head in amazement right now, well, this one’s for you.
Whilst we’re not averse to putting up the odd candid phone image on Twitter, our preference would always be to tweak a couple of things first. Because, let's face it, if you can make that photo pop that little bit more, why not spend a couple of extra minutes editing it and turn it into something you'll be dying to put into your Instagram feed!
Thankfully, there are some great apps you can download (for free!) to edit on your mobile. As Android users, we actually quite like the editing capability of the inbuilt 'Photos' app, but we also like VSCO's editing app. We recommend that you try to stay relatively consistent in your editing flow and style - don't chop and change too much between styles and don't just stick to the presets or filters available. Spend some time working out how to edit the 'exposure' and 'contrast' work, experiment with how shifting the 'highlights' or 'shadows' alters your image...you'll soon see the potential to create even better, more impactful images of your travels on your phone!
Do you use your mobile as your main camera on your travels? What are your main tips for taking better photos with it?
This article was brought to you in association with Pixter, all opinions however are ours.

